Mastermind Your OBSBOT Tail Air with RTSP Mode
RTSP (Real Time Streaming Protocol) is a network protocol designed for managing the live transmission of audio and video streams across various devices. It functions similarly to a universal remote, allowing you to control the playback of video without directly handling the video data itself. Turning on RTSP mode in OBSBOT Tail Air camera makes streaming more versatile and efficient, fitting various needs.
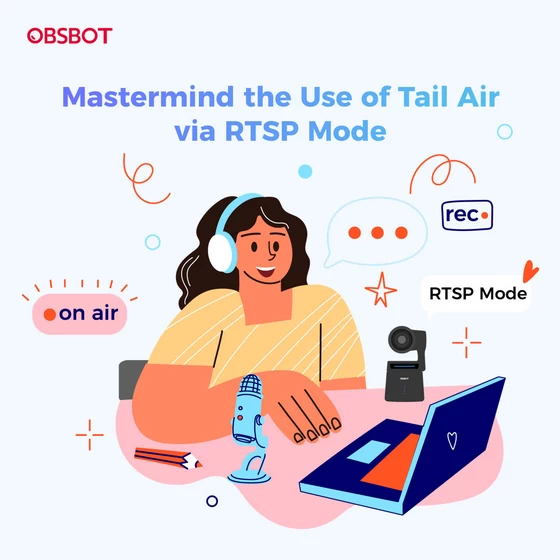
Activating RTSP Mode in OBSBOT Tail Air
Guide Step for OBSBOT Center
– Open the OBSBOT Center on your computer. After connecting OBSBOT Tail Air, click “More” to bring up the settings panel, then turn on the RTSP mode.
– Click “About” on “General Settings” to view the video stream address in the RTSP Information.
– Copy the RTSP video stream address according to your connect method.
Guide Step for Obsbot Start
– Open the Obsbot Start on your phone. After connecting to OBSBOT Tail Air, click the “More Settings” icon then turn on the RTSP mode.
– Under General Settings, select “About Device” to access the video stream address listed in the RTSP Information.
– Based on your network connection, copy the RTSP video stream address.
Notes:
– Once RTSP is enabled, UVC/NDI will no longer be available.
– After enabling RTSP mode, you will be unable to adjust media parameters in “Media Settings”.
– The video stream address in the wired network section is visible only when OBSBOT Tail Air is connected via Ethernet, as shown:
Start RTSP Video Live Stream
Here we use OBS Studio as an example.
Add Resource via Media Source
1. Before you start, ensure that OBSBOT Tail Air and your computer are connecting to the same network.
2. Then open OBS Studio, click the “+” icon in “Sources”, and select “Media Source”.
3. In the pop-up window, create a new source and rename it, then click “OK”.
4. Uncheck “Local File”.
5. Fill in the RTSP video stream address in the input, then click “OK” to finish.
6. Now you have successfully obtained the video stream image.
Add Resource via VLC Source
Download the VLC media player.
2. Then confirm that both OBSBOT Tail Air and your computer are on the same network.
3. Open OBS Studio, press the “+” button in “Sources”, and choose “VLC Video Source”.
4. In the pop-up window, create and name a new source, then press “OK”.
5. Click the “+” icon and pick “Add Path/URL”.
6. Paste the previously copied RTSP stream address and select “OK”.
7. Your inputted stream address will now be listed in the playlist. Then finalize by selecting “OK”.
8. You’ve now successfully captured the video stream using VLC Video Source in OBS Studio.
Did this article help you? If so, please tell me in a comment what do you think about it.
Don’t miss any of our future video tutorials, follow us on Youtube. Like us on Facebook. Join our Best Deals Telegram Channel. Join our Android TV Box Firmware Updates Telegram Channel. Subscribe now to our newsletter. If you need Tech Reviewer or Youtube Influencer read this. Donate now here to support CGR Team!