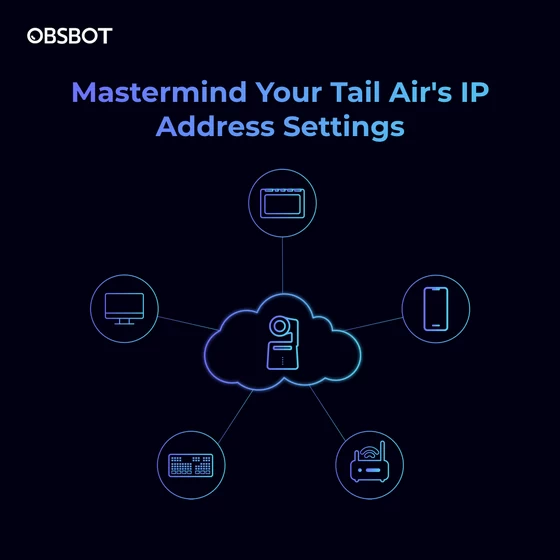
Mastermind Your OBSBOT Tail Air’s IP Address Settings
An IP address is like an identification number for a device on a network. It allows the Tail Air to communicate with other devices on the same network. Setting the IP address on your OBSBOT Tail Air allows it to connect to your local live-streaming network. While the camera has automatic IP assignment enabled by default, you may want to set a static IP address. This tutorial explains configuring the IP settings through the Obsbot Start app.
Getting Started
Before setting the IP address, make sure you have:
– The OBSBOT Tail Air powered on and connected to your WiFi
– The latest Obsbot Start app installed on your smartphone or tablet
Step-by-Step Guide to IP Address Setup
1. Open the Obsbot Start app and connect to your camera’s live view.
2. Tap the Settings icon in the bottom left corner.
3. Select About Device from the menu.
4. Scroll down and tap on Network to access the IP address settings.
5. Select the IP option that you want to enter. (We’ll take Wireless IP as an example.)
6. Tap on Manual to manually assign an address.
7. Enter your camera’s desired IP Address, Subnet Mask, and Default Gateway. The default gateway must be in the same network segment as the IP address.
8. Tap Save when finished.
Note: To make the new IP address work, you need to reconnect the camera.
Potential Situations
1. No change from the last settings. Entering the same IP address as the current setting will result in no changes, it will return you to the previous screen.
2. Incorrect format. Incorrect IP address, subnet mask, or default gateway format/syntax will generate an error message prompting you to re-enter the information.
3. IP address mismatch. An IP address not matching the network segment of the default gateway will produce an error that they do not match. You need to enter an IP address in the same segment.
4. New IP address. When you input a new IP address different than the current one, you will get a warning that the camera could fail to connect. You can still save the changes, but may need to reconnect the camera.
Troubleshooting Connectivity Issues
If the camera fails to reconnect after changing the IP address, you may have entered incorrect info. Follow these steps to restore connectivity:
– Switch the camera mode to Cellular in the Obsbot Start app.
– Tap Reset All Connections under Network settings.
– The camera will revert to automatic IP assignment. You can now reconnect normally.
Setting a static IP can be tricky. If you are unfamiliar with network settings, it’s best to use the automatic configuration. This tutorial should help you successfully change the IP address. Enjoy and get ready for further usage of the OBSBOT Tail Air!
Did this article help you? If so, please tell me in a comment what do you think about it.
Don’t miss any of our future video tutorials, follow us on Youtube. Like us on Facebook. Join our Best Deals Telegram Channel. Join our Android TV Box Firmware Updates Telegram Channel. Subscribe now to our newsletter. If you need Tech Reviewer or Youtube Influencer read this. Donate now here to support CGR Team!